Creating A New Schematic
- Open up Eagle and right-click Projects
- Choose "New Project" and give your project a name
- Now right-click on your project and pick "New Schematic"
- A new Schematic editor window will pop up,
- now's a good time to pick a name and save it-
- go to file->save, pick a sensible name
Preparing To Draw
Grid, Engage!
You're going to want a grid. Type grid inch 0.1 dots on to show the grid, it's useful! Schematic view is generally less busy than board view, a grid of dots works well.
You will find most schematic symbols aligned to a 0.1 inch grid. We'll use 0.1 inch too.
Background Colour
By default Eagle uses a white background in schematic and layout view. To change it, click Options -> User Interface.
I highly recommend using a black background in layout view, you'll spend the most time there. Your eyes will thank you. You can use black or white in schematic view. Black is nicer on the eyes, white feels more natural. Your choice!
Frame
It's not strictly necessary, but we're going to be professional and add a frame. A frame is useful for a couple of reasons. It will encourage you to lay out your schematic tidily within its confines. And it will look cool when you print it out.
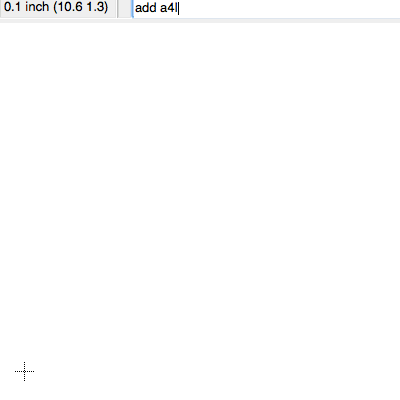
We'll shortcut the add command for now to add a standard A4, Landscape frame.
Type: add a4l-loc
If your libraries are set up properly, the frame will appear at your cursor. Find the little origin cross-hair in the bottom left of the view, and drop it there. Now press Esc and Esc again to finish placing frames.